
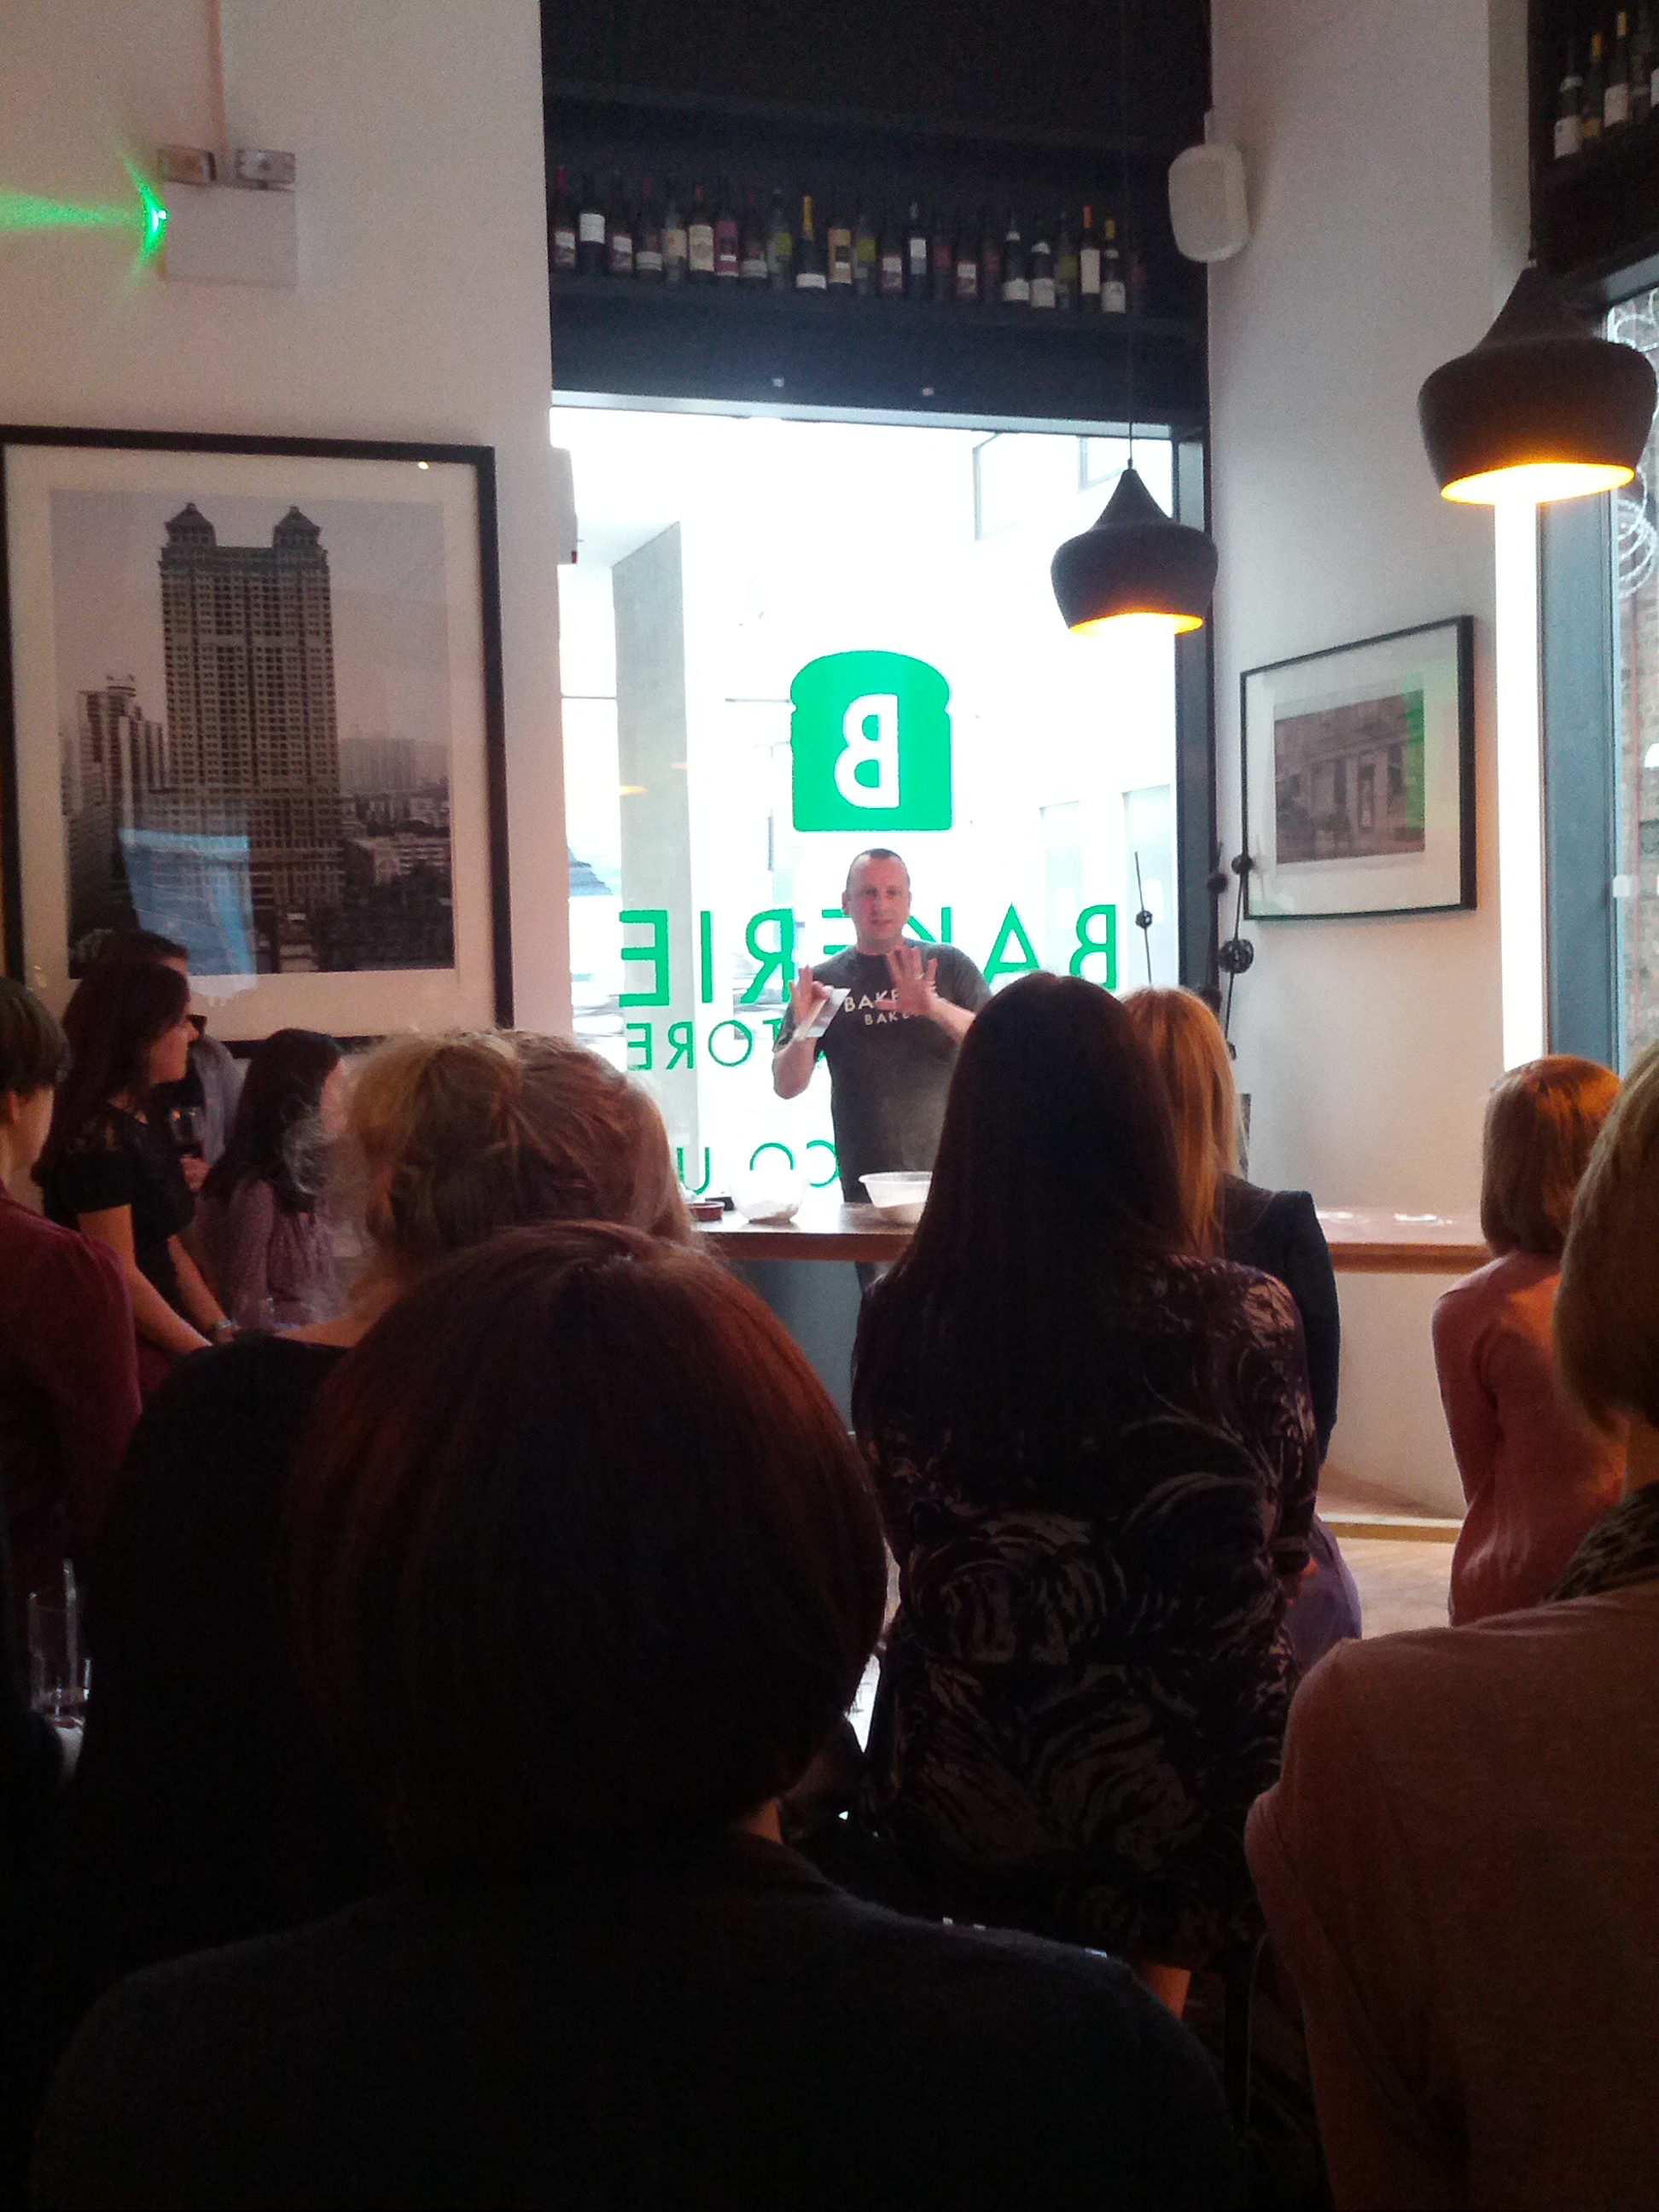
Manchester WI has various subgroups – craft, gourmet, exercise – one of everyone’s favourites is the baking group. Earlier this week, the Bakerie arranged for a breadmaking demonstration with Dave, master baker and all round nice chap.
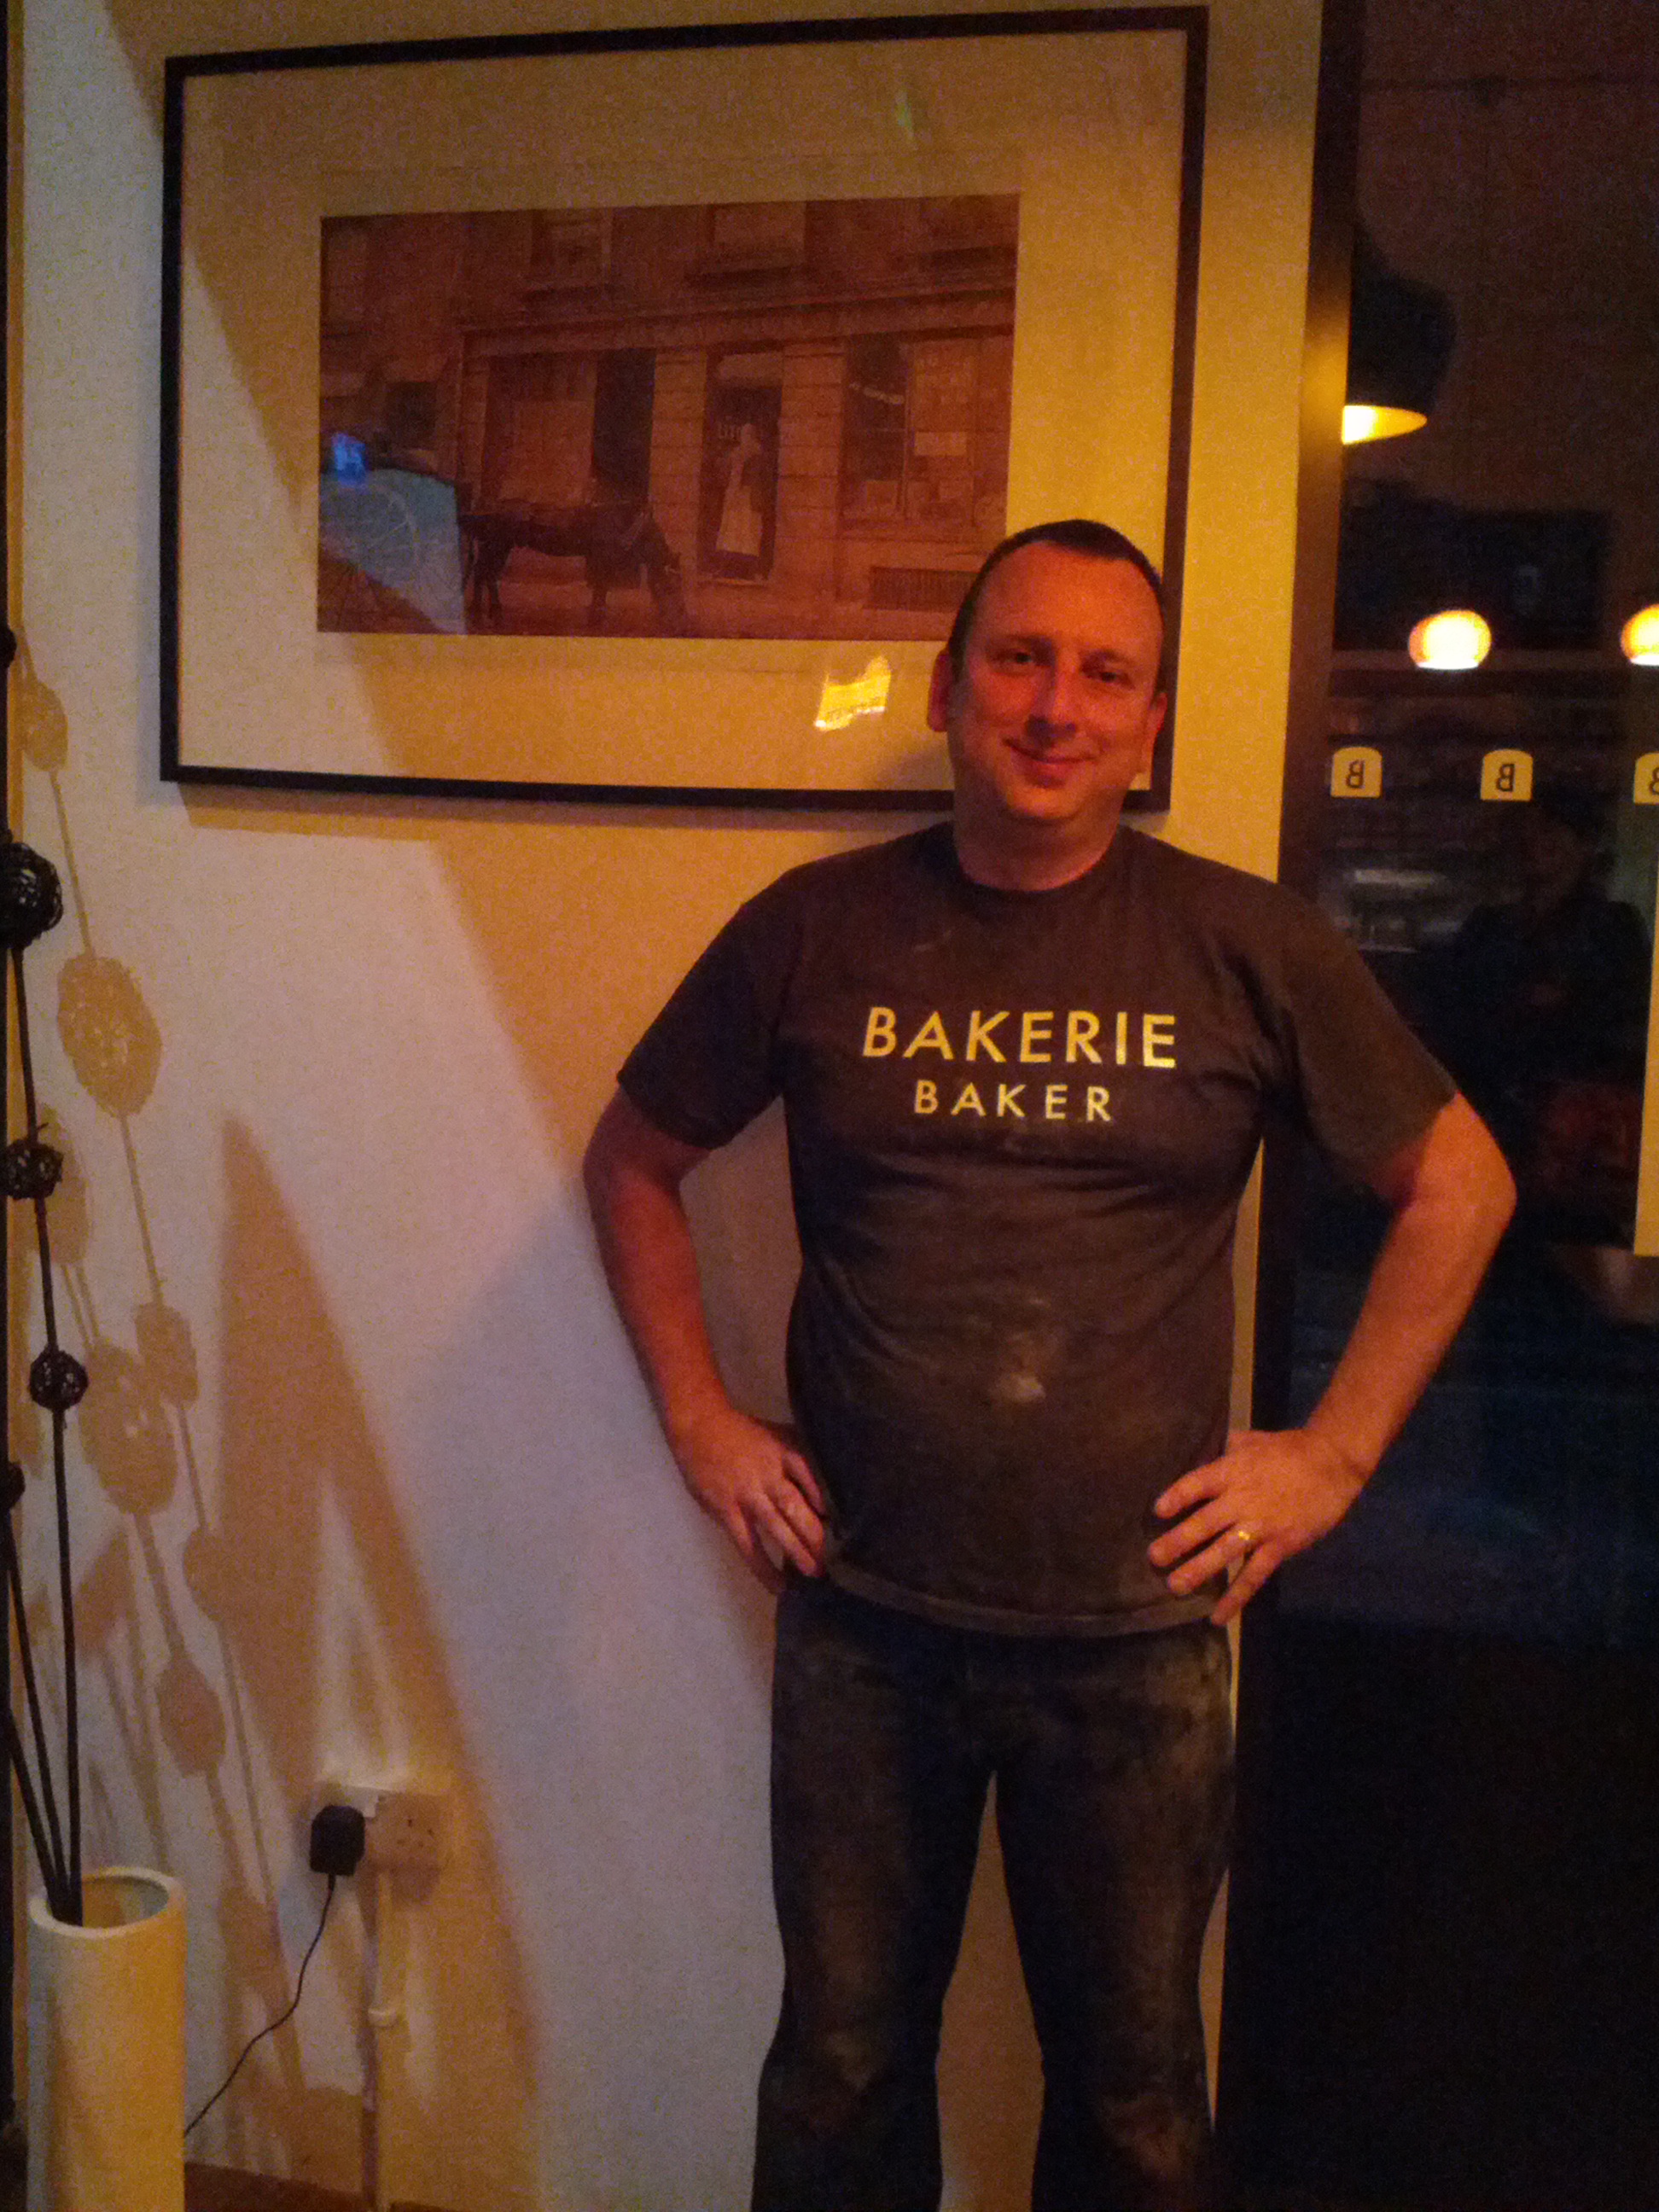
Dave regularly does demonstrations for IntaFood, so was quite at home being surrounded by ladies taking an interest in what he was doing, though those with IntaFood are generally much more hands on.
He began by making a white 800g loaf, using 500g of sieved organic white flour; such as Shiptons or Dove Farm. The flour is a very important component, it’s the gluten component of the flour that affects the bread texture.
The second ingredient is the yeast – he recommends brewer’s yeast – the dried packets are fine, but can affect the taste of the bread, resulting in a chemical like aftertaste.
The next ingredient for your 800g loaf is warm water. Yeast reacts well to temperatures between 33 and 55 degrees celsius – above this kills the yeast, below this makes your yeast sleepy. To activate it, mix it into the warm water, around 15g to 275ml of water. If your yeast is happy and healthy, it will activate in the water alone, resulting in a quiet ‘fizz’.
Finally, you will need some salt. Salt will kill yeast if it comes into direct contact with it. However, salt is needed for flavour and so it’s best to add the salt directly to your flour (7g for this size of loaf) and gently mix through. This will distribute the salt through the flour and means less will come into contact with your yeast. There’s enough yeast in the recipe to afford some loss during the baking process.
Add the ingredients together either in a bowl, or on a clean surface by creating a well in the centre of your flour and pouring in the water/yeast mixture. You want to create a wet sticky dough, if it sticks to your hands and annoys you, then you know you’ve got it right (a dough scraper can help). Mix the dough enough to combine it and then you can knead the dough to stretch the bread. Don’t be afraid to use a machine, if that works better for you, but if kneading by hand, stretch the dough away from you and fold it over, before turning and repeating (a useful demonstration can be found here). It’s just as important not to overwork the dough, so once it’s smooth in texture and holds its shape, you’re good to move to the next stage.
The Bakerie has a proving oven for the dough, but at home, your airing cupboard (you can pop a shower cap over the bowl to help keep it moist, or pop in a tub of water to keep the air moist), or a gently warm place.
Once the dough has doubled in size – this may take longer if it’s in a colder place (but will result in a more flavoursome loaf) – you need to ‘knock it back’. This is actually quite a gentle process. Press it gently to reduce it’s size and pop it in your loaf tin/on a tray shaped to suit. Let it prove for a second time.
Once your loaf has risen again, sprinkle it with flour (it adds to the flavour and appearance) and pop it in the oven. Pop your loaf in the oven set at around 200 degrees celsius, gas mark 6 or 7. The heat will shock the yeast in your bread to rise higher (oven spring) initially, and then bake your loaf. You’ll know it’s done, not only through the colour and the smell of baking bread permeating your home, but by removing it from the tin/off the tray and tapping the bottom – you want to hear a nice hollow sound.
Place your loaf on a cooling rack – don’t leave it in the tin, this can cause it to sweat – or, if you can’t wait, use a teatowel to hold it, slice it and cover it in butter (not recommended by Dave, this is what I do!).
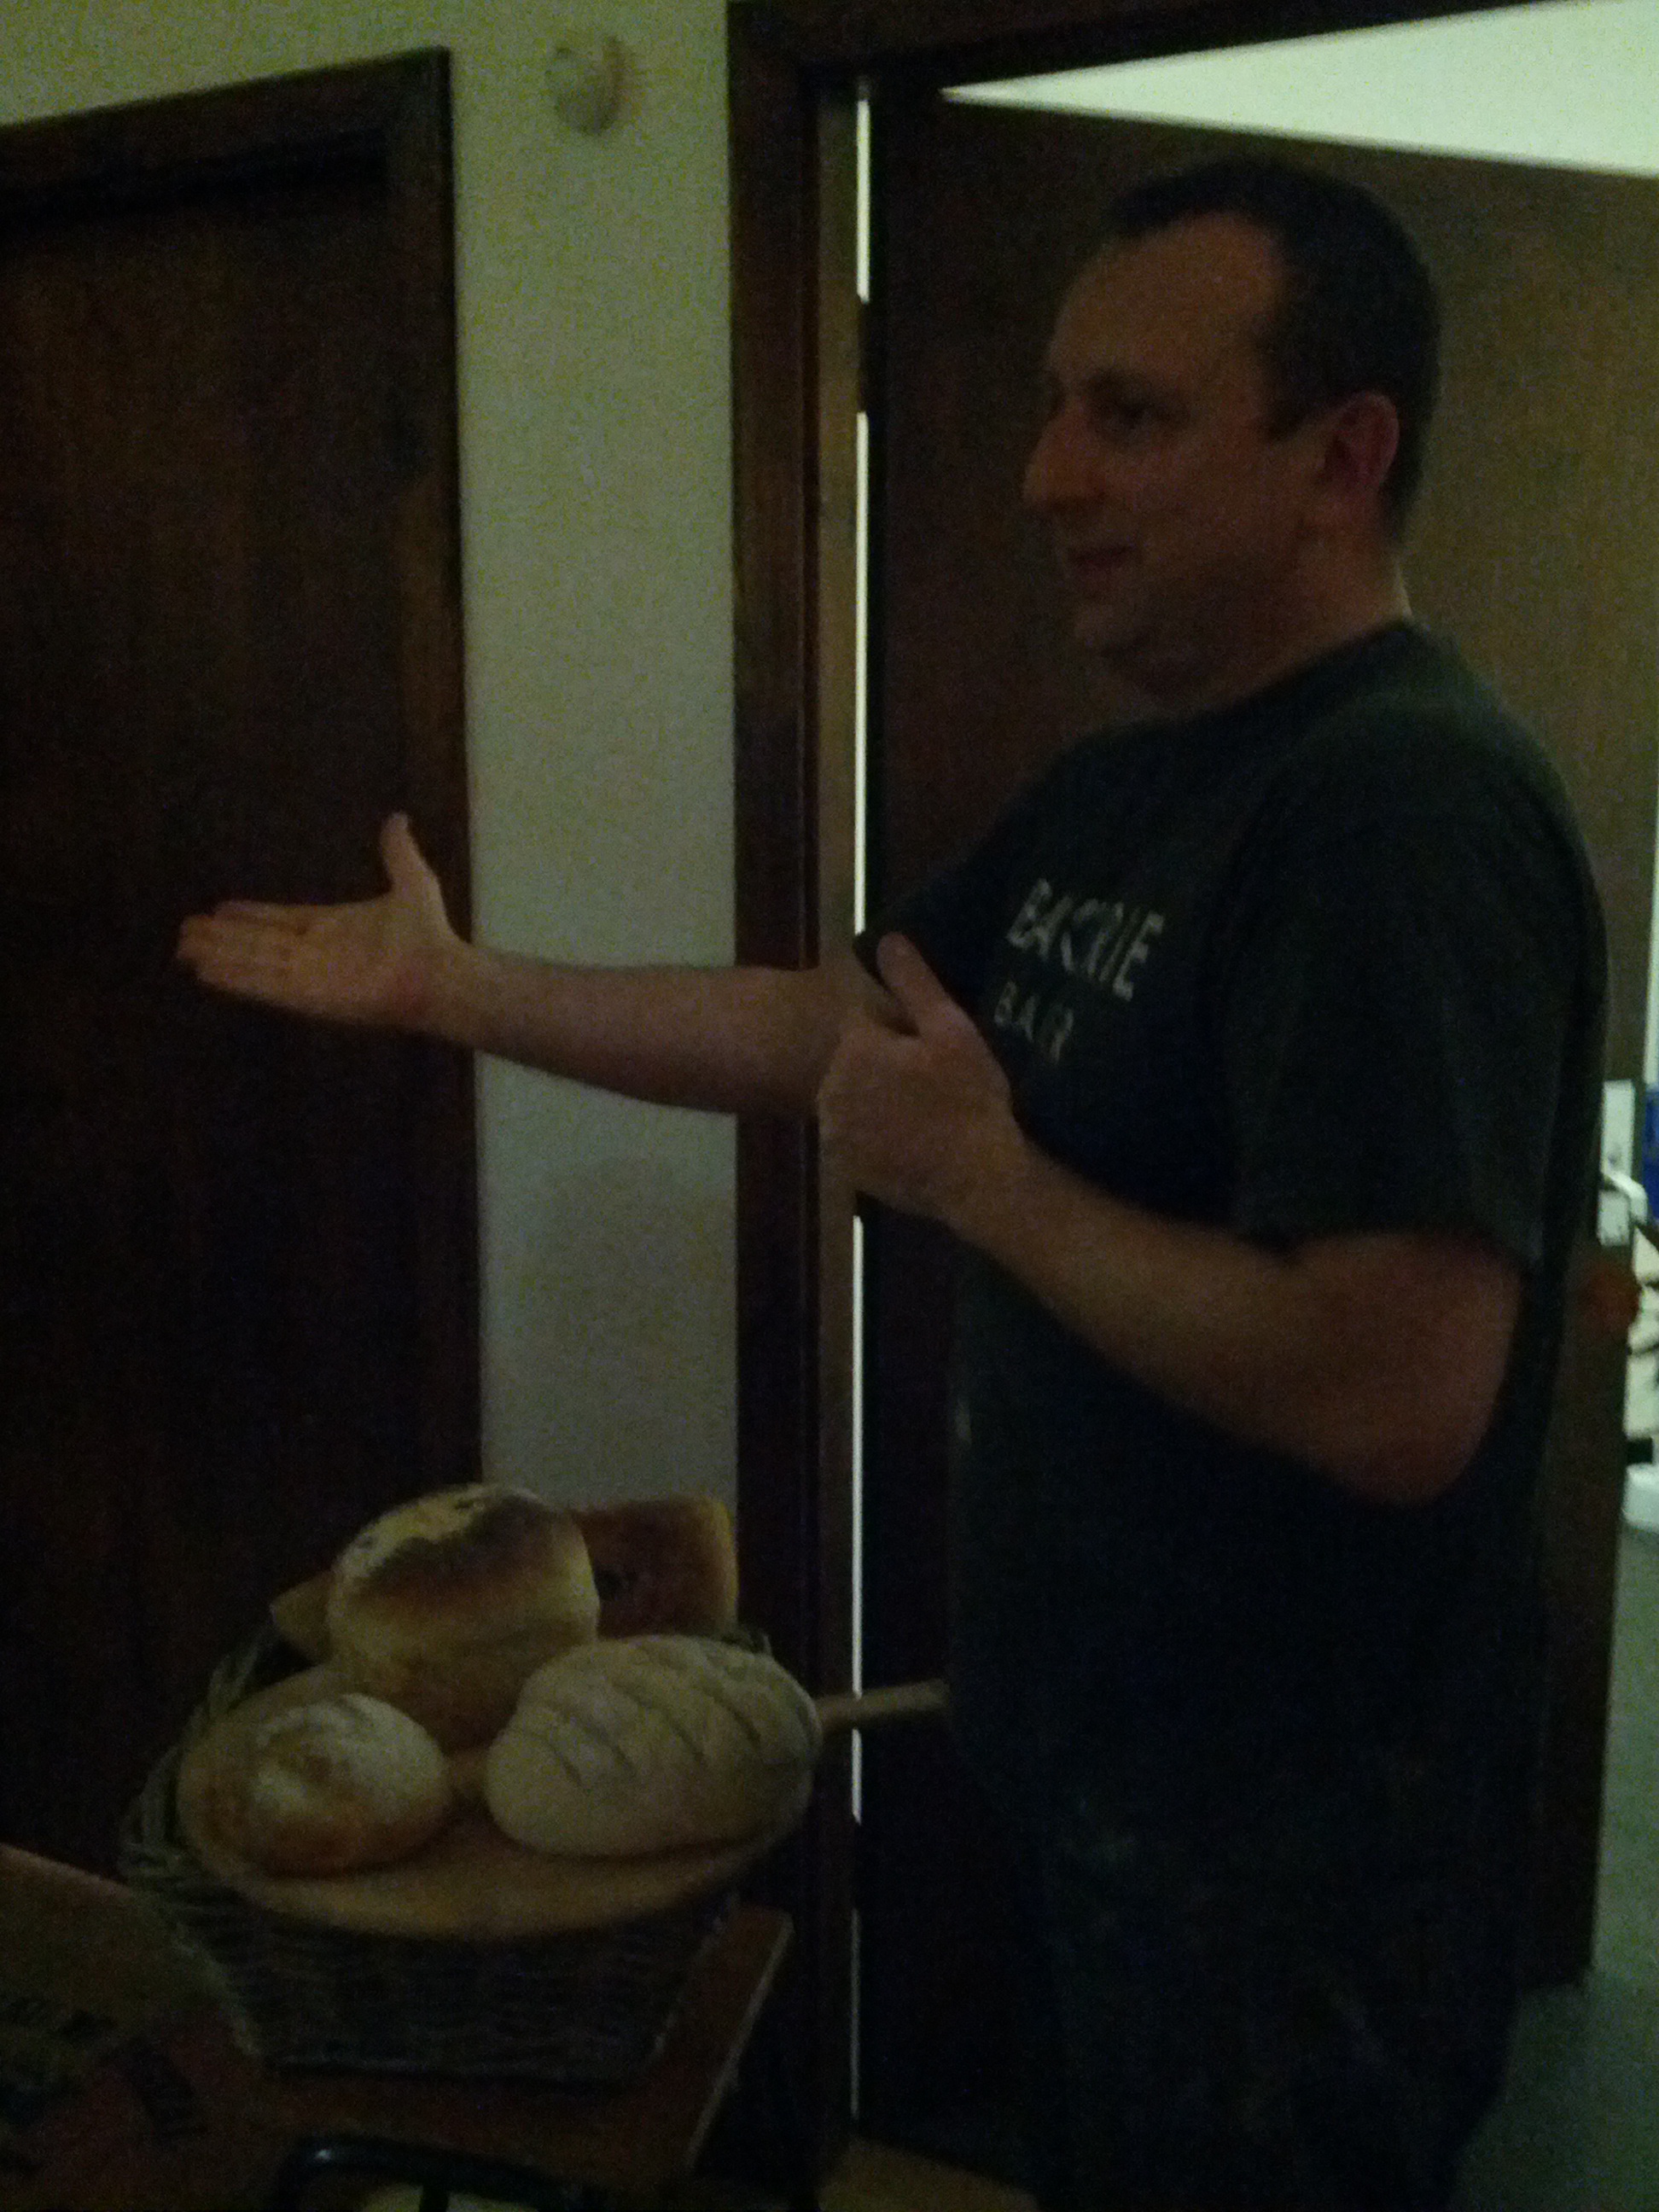
The loaves Dave produced for us were understandably perfect, but what we’re really grateful for is the knowledge and advice on how we can do these ourselves at home. I suspect there may be a lot of baking going on in Manchester over the next few weeks – on behalf of those taste testing them, thank you Dave.